How to Hang your Hammock and Tarp
How to Hang your Hammock and Tarp


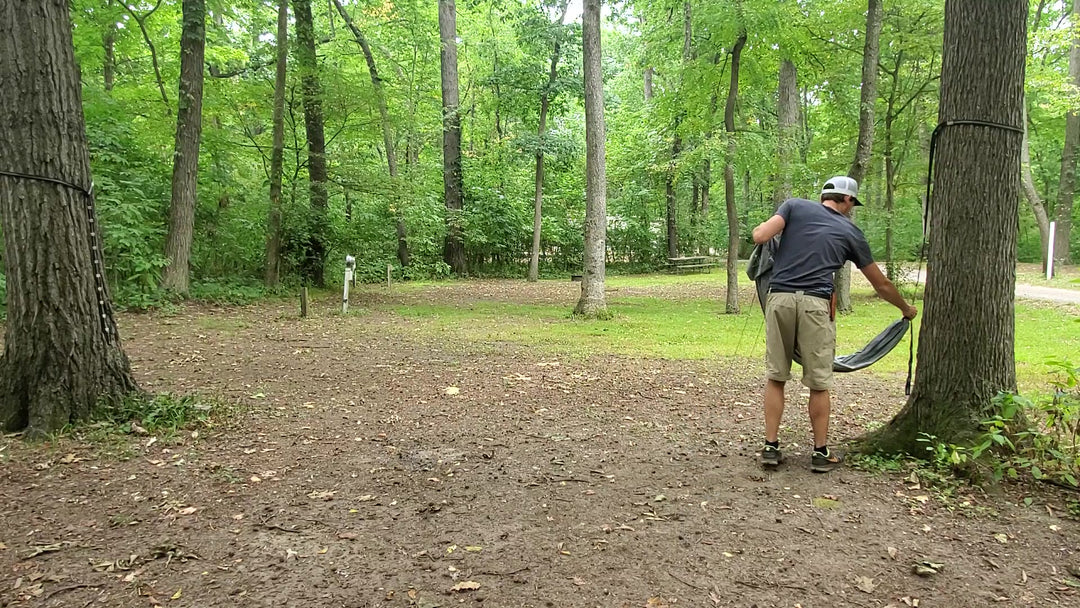
When you first begin to hang your hammock, you will need to attach the tree straps to the tree. You want to find 2 trees that are no smaller than 6 inches in diameter and about 12 to 15 feet apart. Once you have found your location, you then will take one tree strap and wrap it around your tree. Feed the side with the continuous loops through the single fixed loop and secure it approximately 7 feet from the ground. Now follow the same steps for the other side. This part will take some practice to get the most comfortable lie but don’t give up because once you master it, you’ll have the most comfortable sleep system! Additionally our tree straps are made of wide webbing which does a great job of distributing the cambium layer.
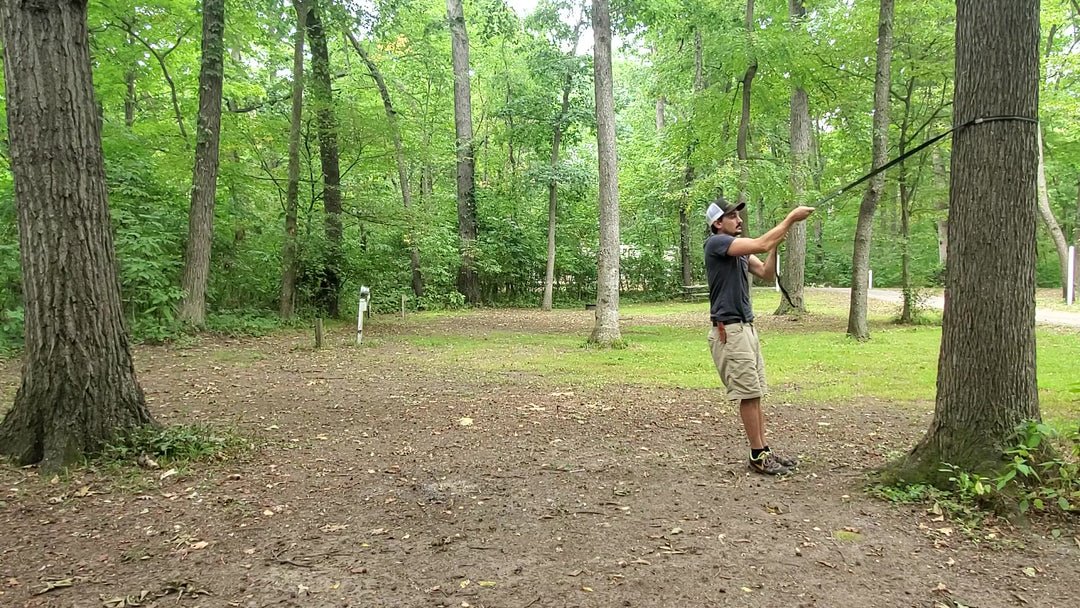
Next we are going to attach the hammock to the tree straps. Because of the continuous loops on the tree straps, you have multiple points of adjustments. When attaching your hammock please note what side you will be getting in and out, and be sure to orient it that way when attaching. To attach it to the loops simply attach the included carabiners to the continuous loops at the appropriate height. When you are sitting in the hammock you want your trees straps to be at an approximate 30 degree angle to the ground and you should be about 18 inches off the ground. Again this part takes some practice to get the perfect “hangle” but trust me its makes all the difference.
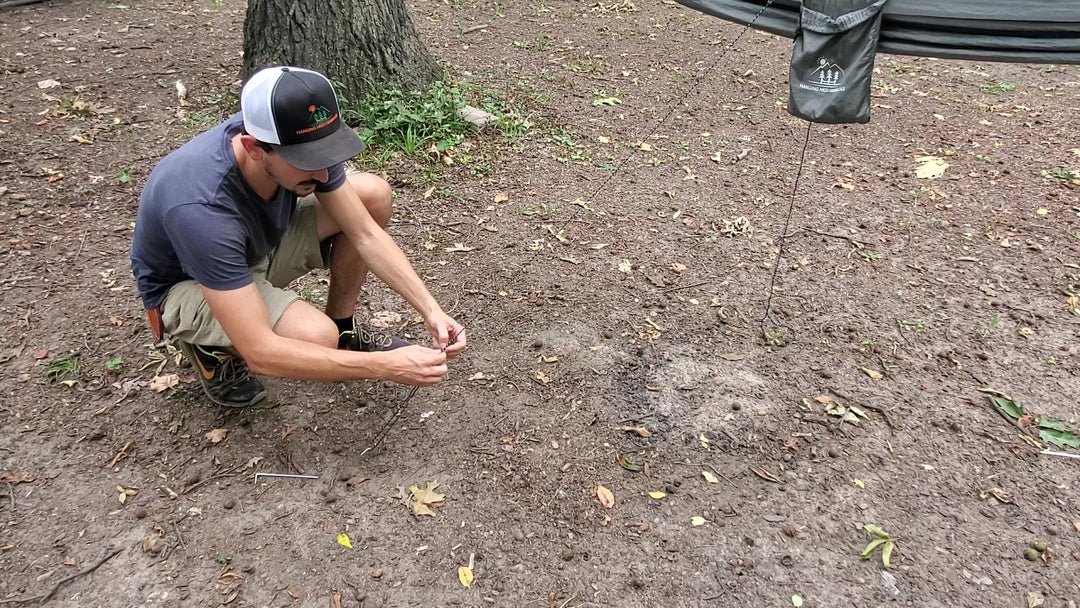
Attaching the hammock pull outs is an optional step. Attaching these to the ground will help with entering and exiting the hammock as well as assist in keeping the bug netting off your face. First you need to attach the guy lines to the hammock with aBow Line knot. Next you’ll want to come out about 3 feet from the hammock and put one of the included stakes in the ground(these are smaller than the other 4). Then you will attach your guy line to the stake and tighten it up with the tensioner. Finally repeat this step on the other side, and then you are finished with your hammock tie outs.
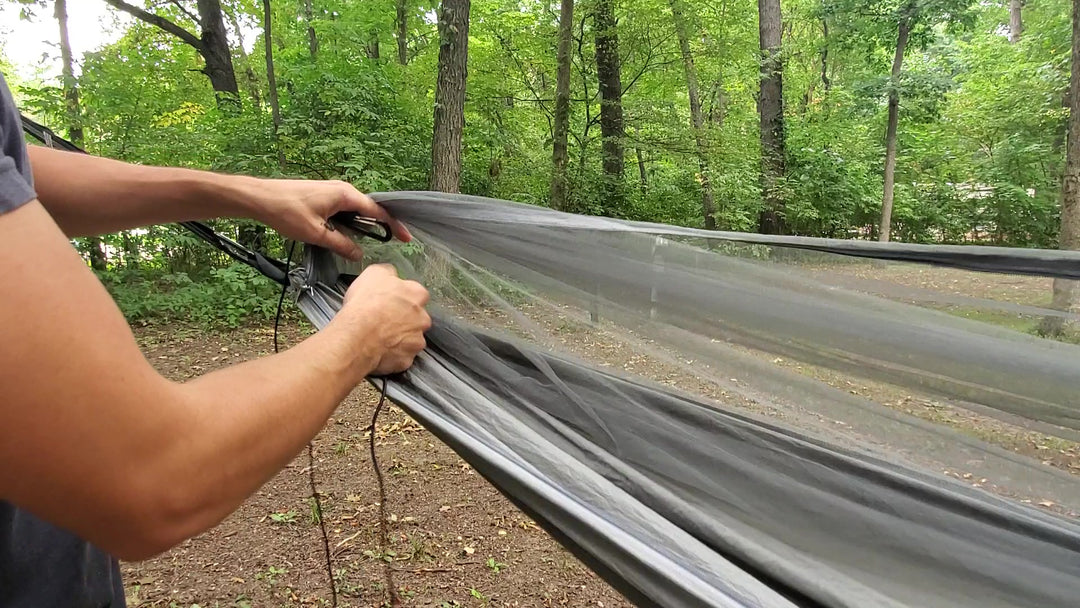
Lastly, for the hammock we are going to set up the Bug-Netting. This is an important part to keep the bugs off of your face while you are enjoying your hammock. In order to keep the netting off your face, you will need to attach the included bungee to the inside of the hammock via the sewn loops on each end. If the bungee is too loose, simply adjust the tension with the tensioner on the bungee. If you decide that you don’t want to use the bug netting in cooler weather or the bugs simply aren’t an issue, all you have to do is detach the bungee from one side and then flip the hammock over. This allows you to use the hammock without being closed in by the bug netting!
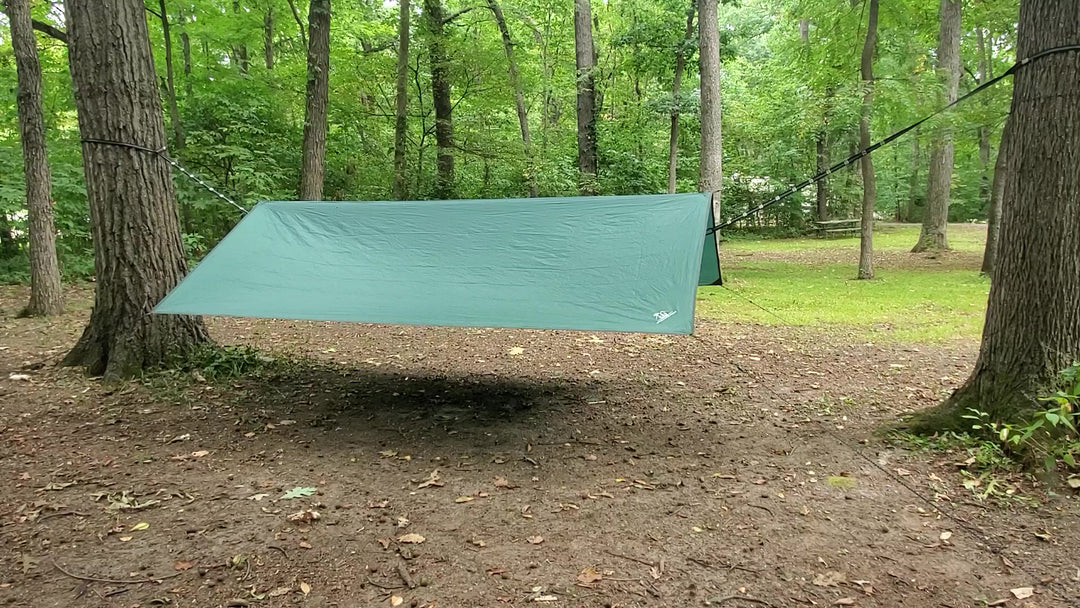
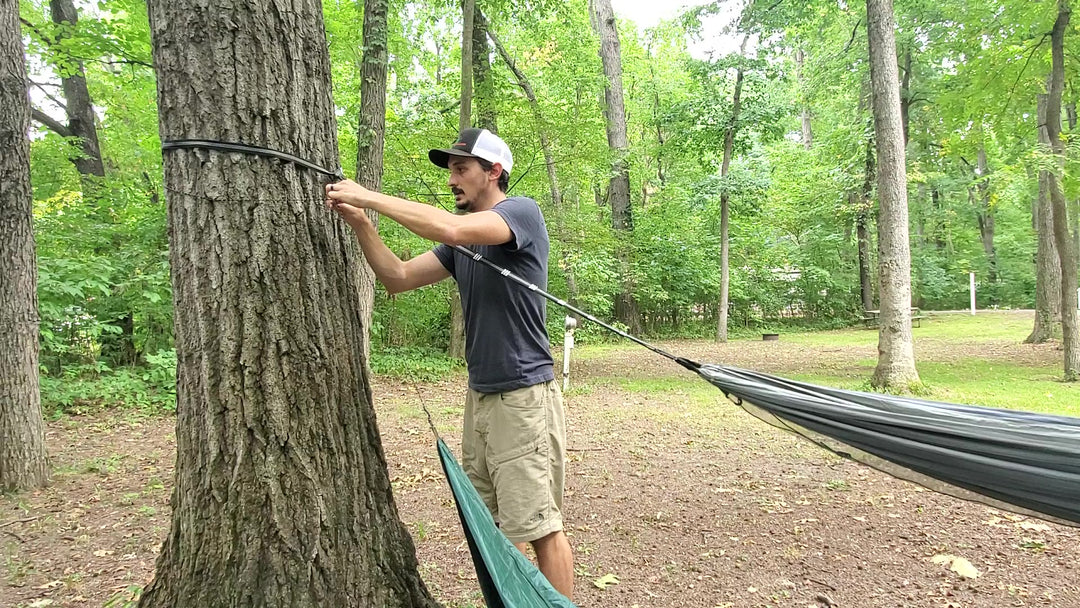
Once you have your hammock set up, it’s time to get yourself protected from the elements. After you have attached the guy lines to your tarp tie outs with yourBow Line knots, you need to attach the center guy lines to the trees. Wrap your first guy line around the tree lower than your tree straps. This ensures that you stay covered even in driving rain. Attach the tag end(the loose end) to the standing end(the side attached to the tarp) with aTruckers Hitch. The reason for a Truckers Hitch is that it is an easily adjustable knot and wont leave fixed knots in you guy lines. You want to be sure that your tarp over hangs your hammock slightly to prevent rain from hitting your hammock and getting you wet. Next you will go to the other side and do the same steps above. Again, with everything, it takes practice to get the process nailed down, but keep practicing and you’ll be set up in no time!
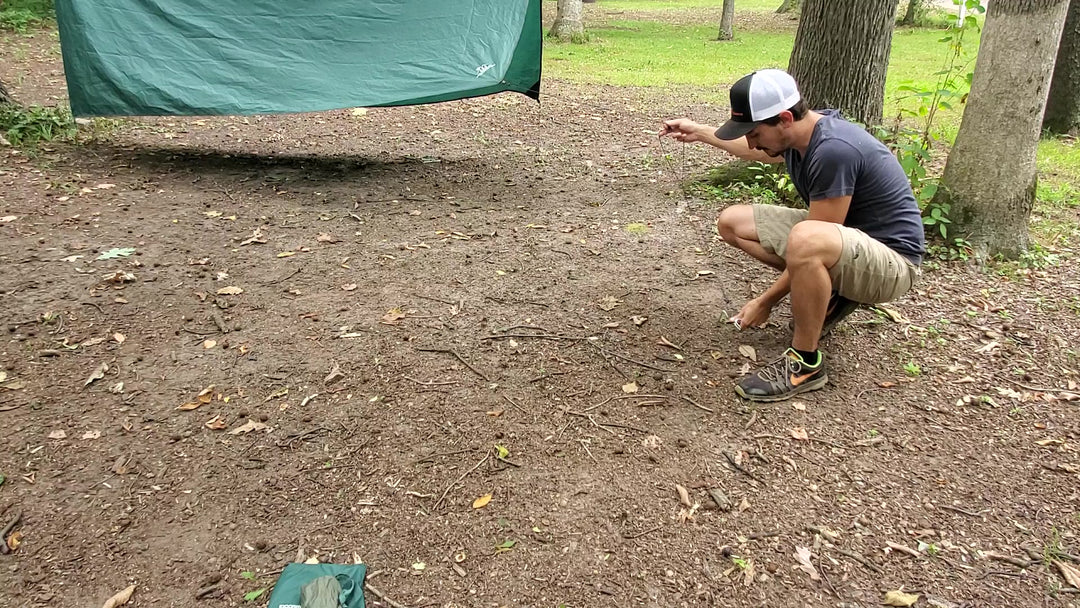
Lastly, you need to tie out your four corners to give yourself some space under the tarp. This ensures that you have plenty of room and that the rain will shed from the tarp properly. Take a stake out and put it a suitable distance(about 5 feet) from the corner tie out you are working on. Be sure that you are putting the stake at a straight angle from the corner, not too far back or too far forward. This allows you to get the most taut tarp as possible. After you have your stake in the ground, take your guy line and wrap the loop around your stake. Then adjust your tensioner to pull the corner tight. Don’t over tighten your first few tie outs. As you work your way around, you can adjust the tension to give your tarp a nice smooth look.
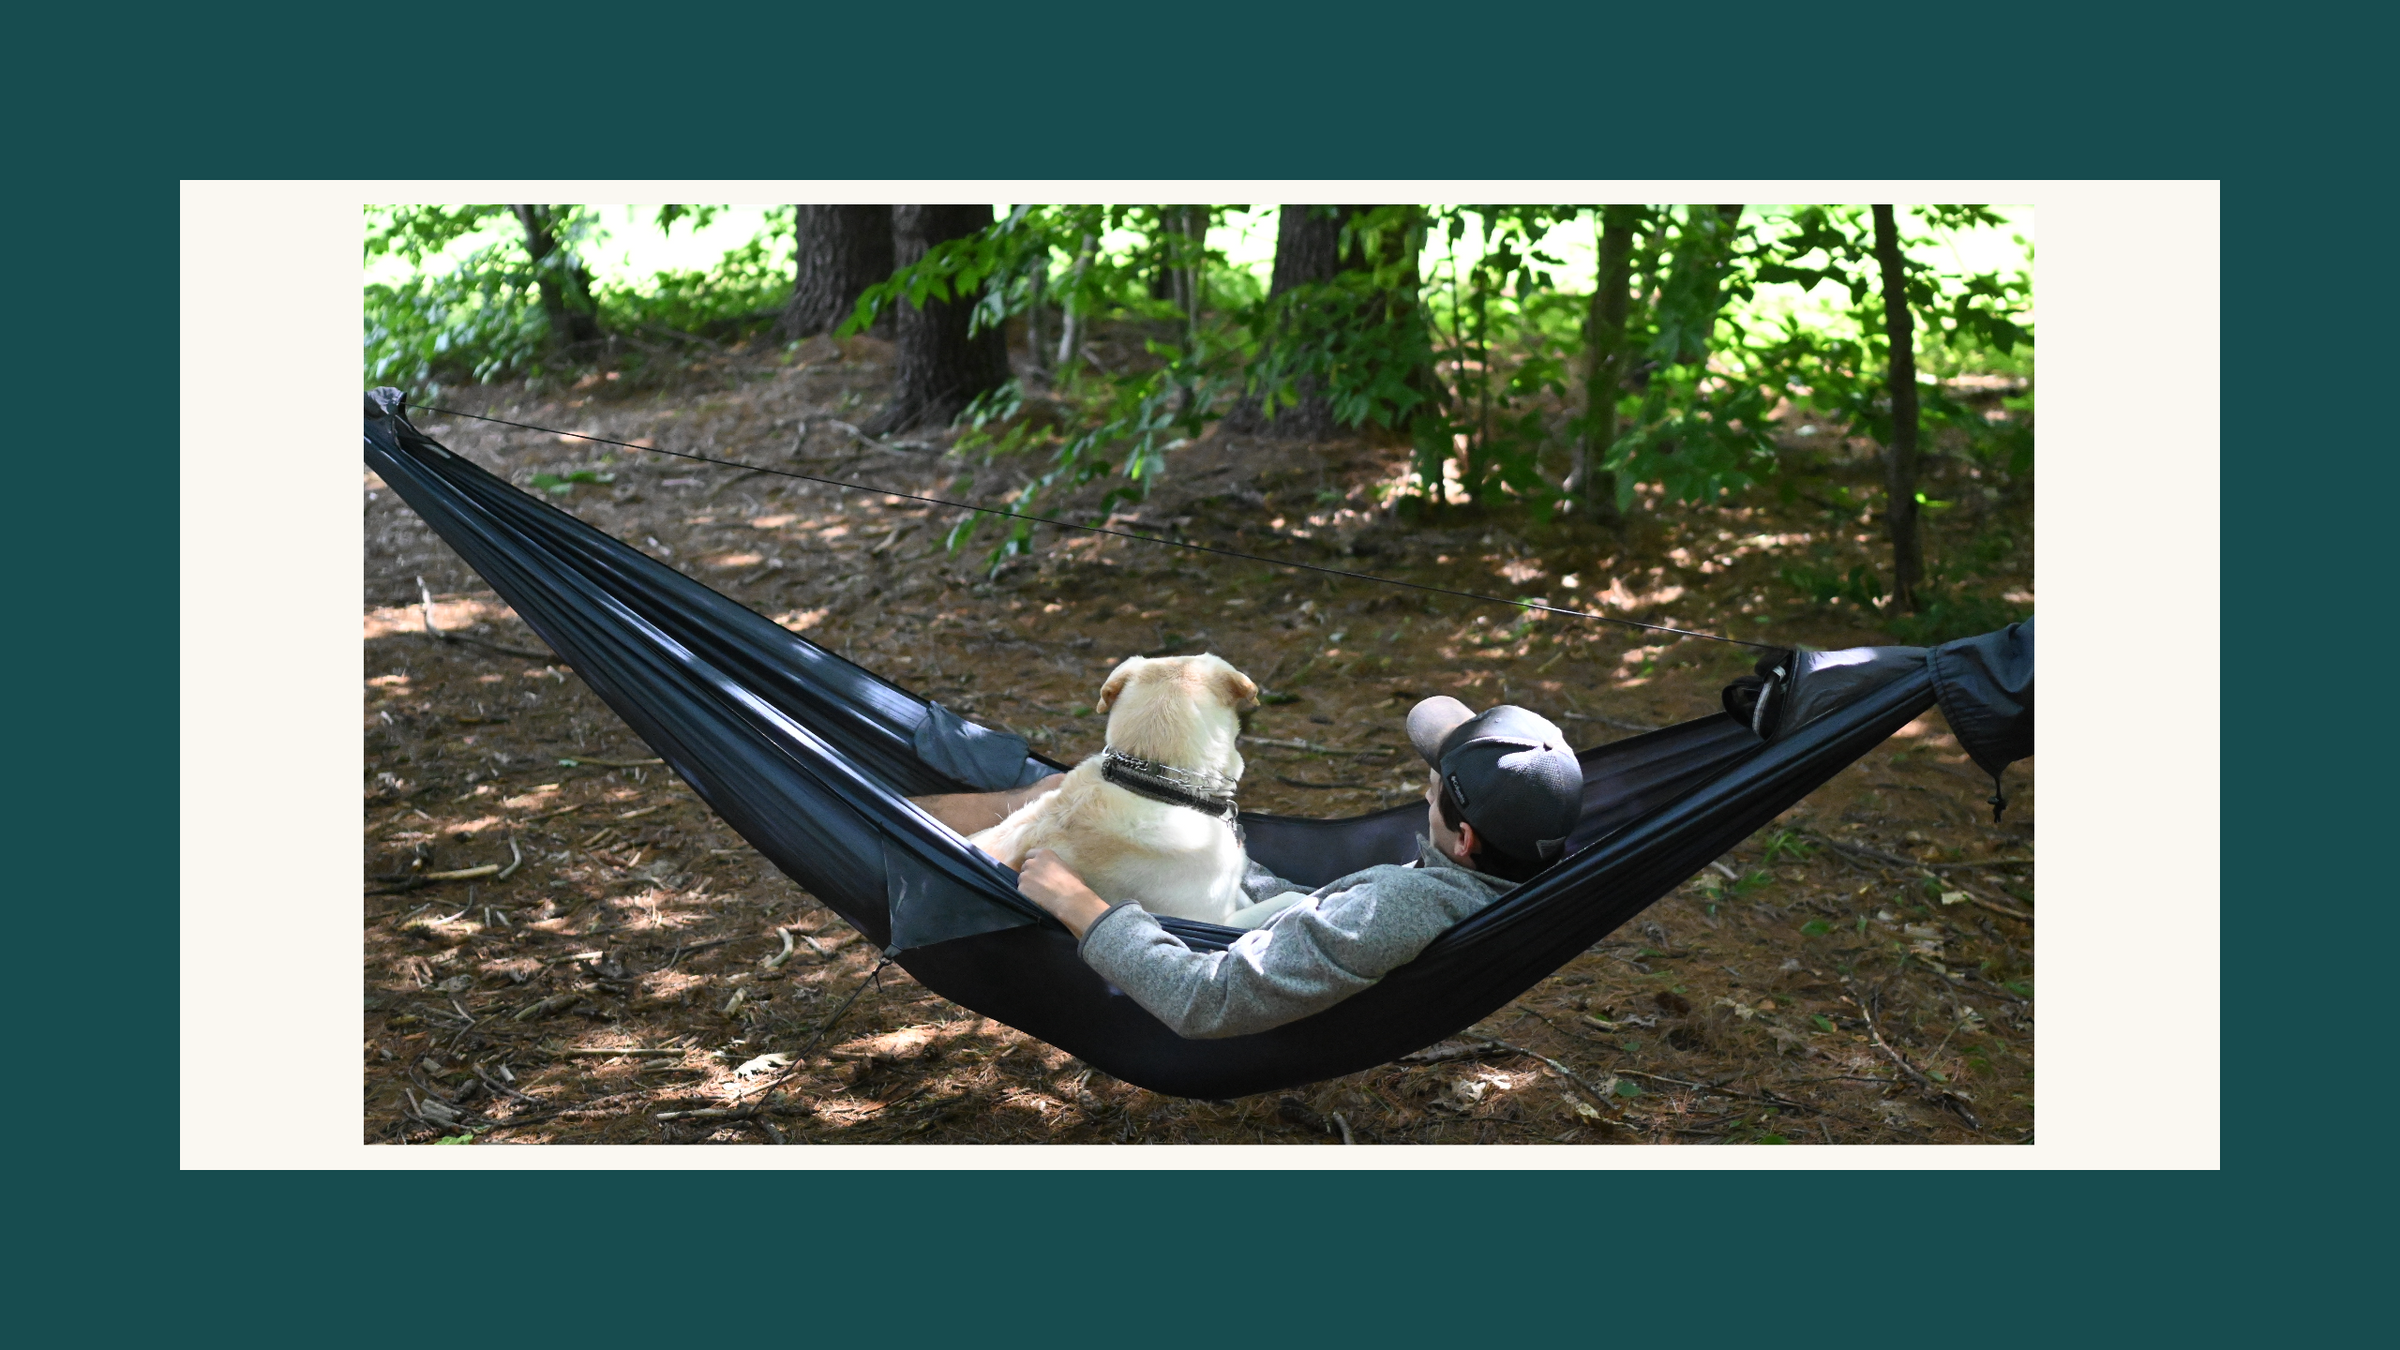
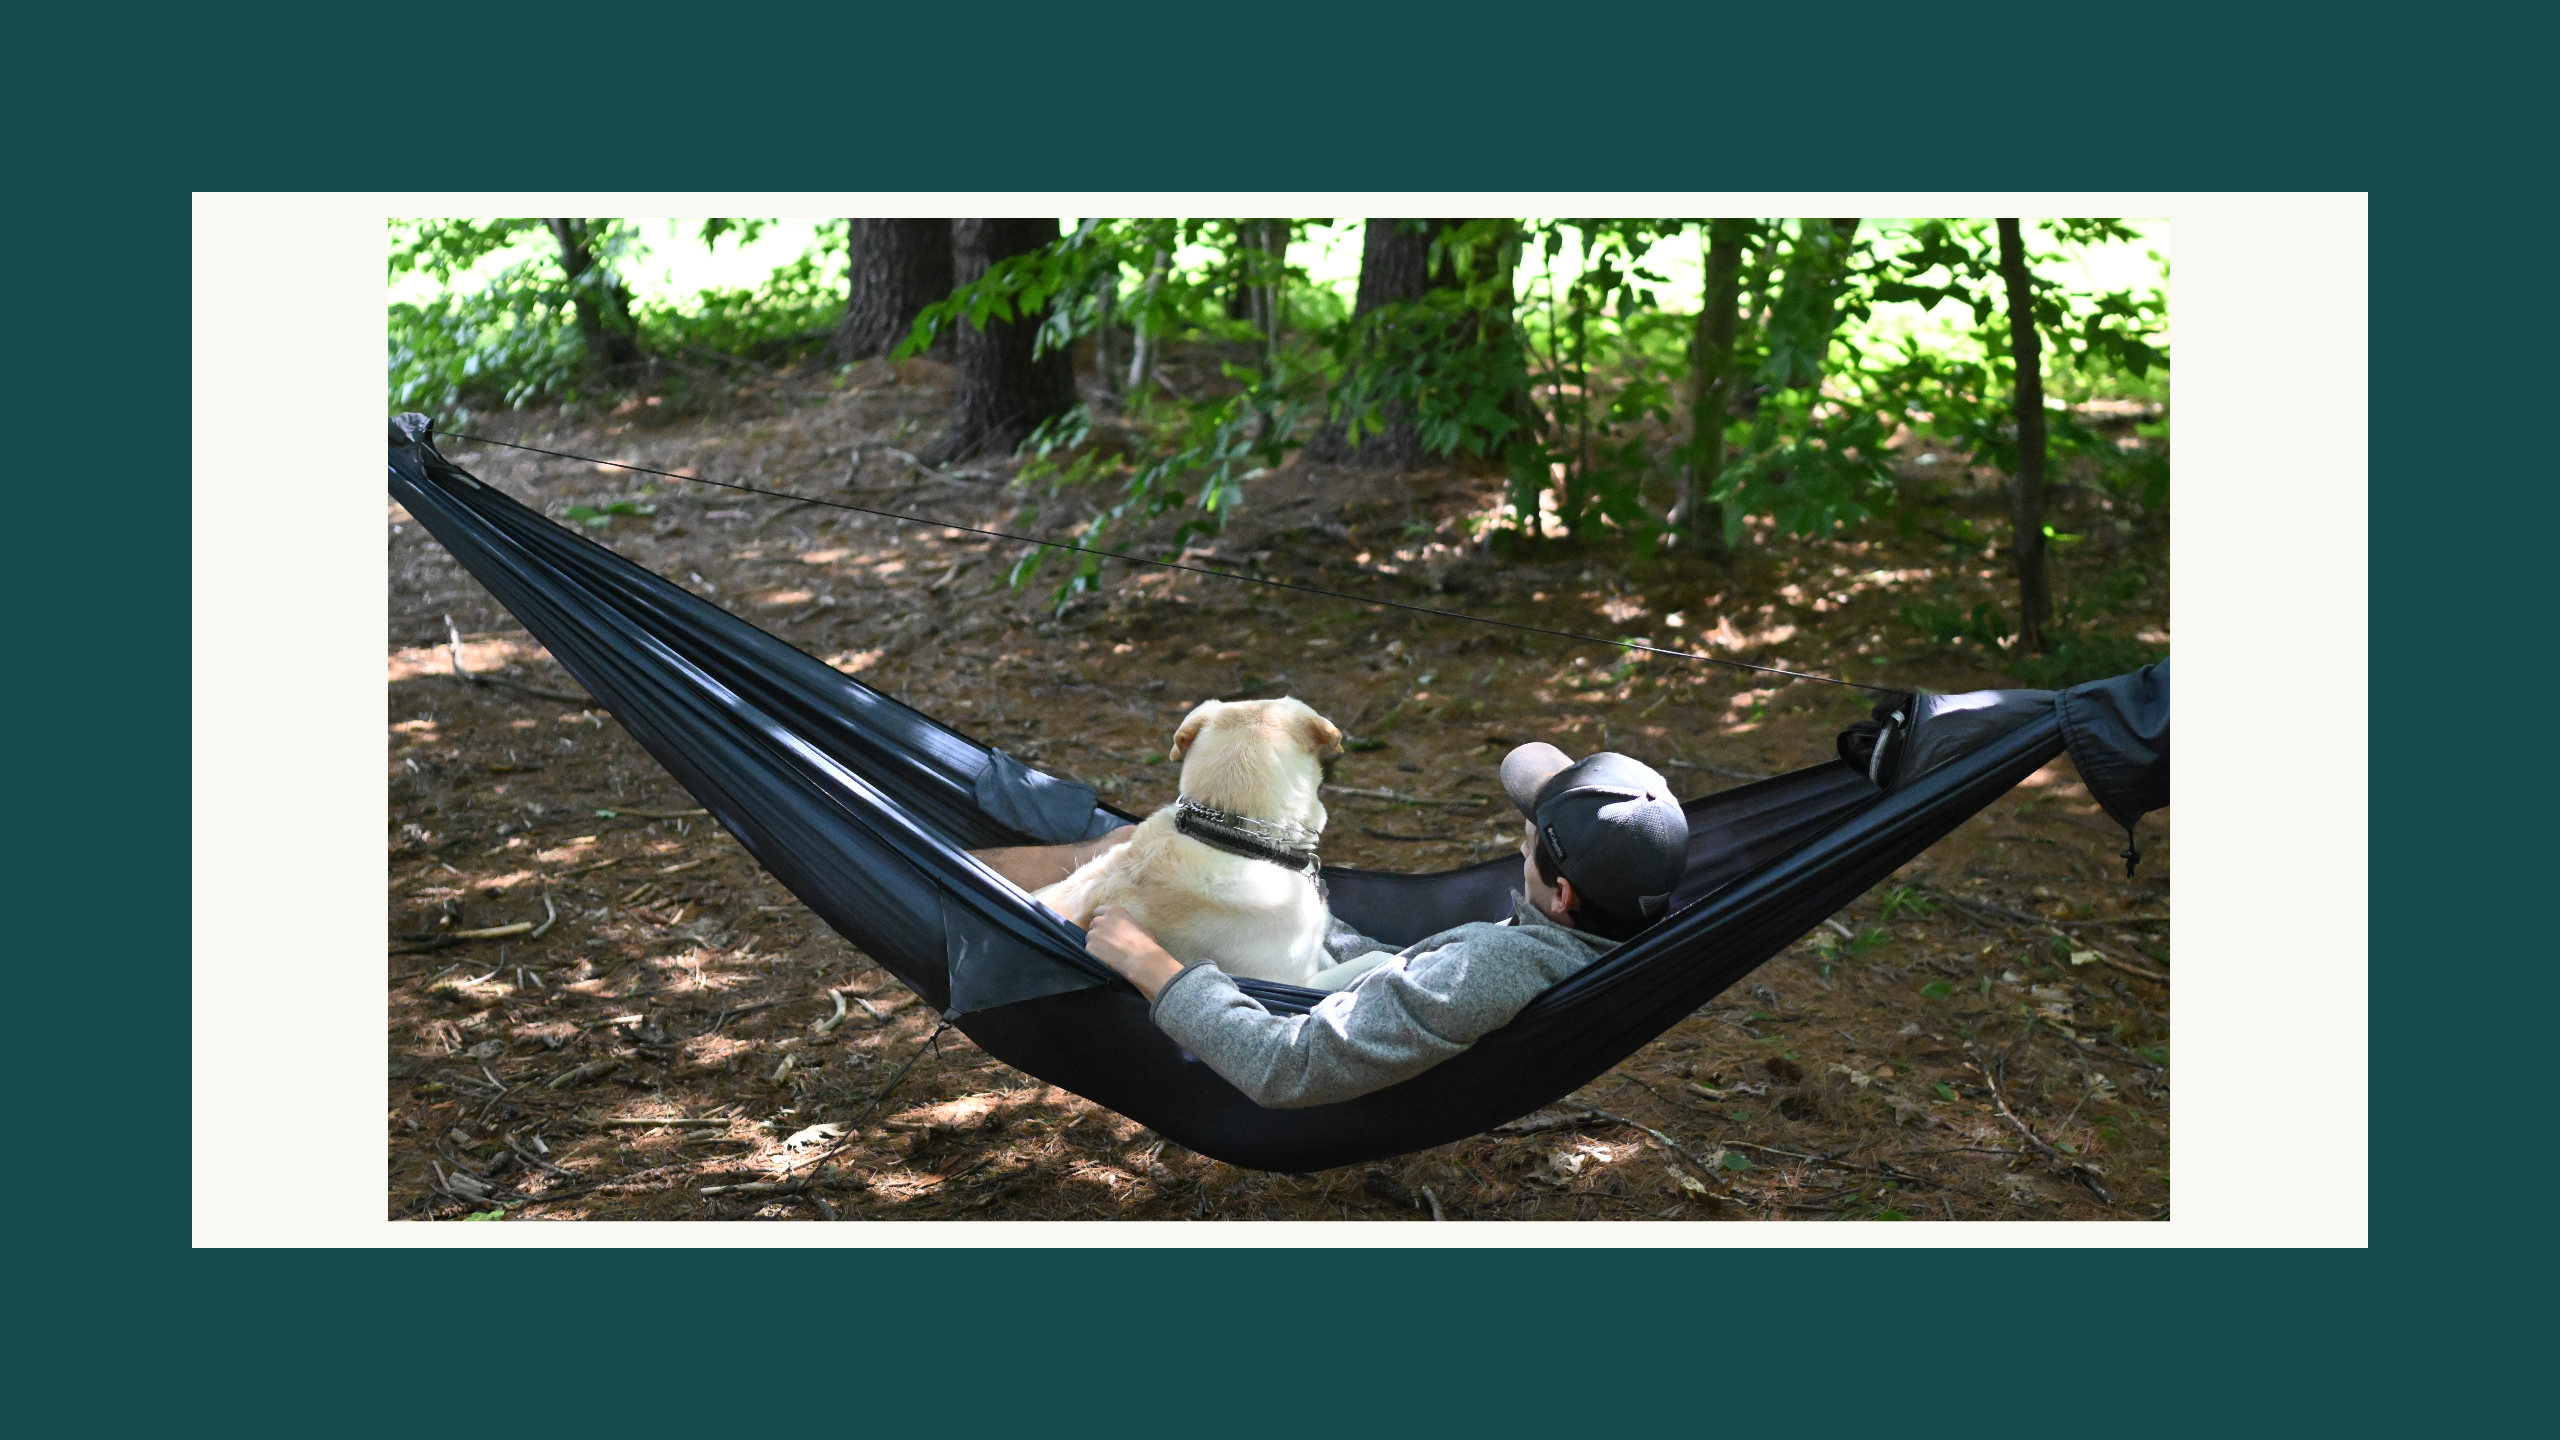
Congratulations! You have now completed your hammock and tarp setup, and are ready to get relaxing. A few pointers and tips worth mentioning are as follows. When you are laying in your hammock, try to lie with your head to one side and your feet at another. This allows for a more flat and traditional lie. You also may try raising your head slightly more than your feet which allows for better regeneration, improved health, greater vitality, and overall well-being! But again it all takes practice and do what is the most comfortable for you. If you aren’t expecting a heavy down pour and want to be able to have a better view, you can set you tarp in lean-to mode(as pictured below). Do this by propping one side up with hiking poles or dead sticks that are laying around. Be sure that you don’t raise the corners higher than the ridge-line in case it does rain, then it will still shed off properly.